We sincerely thank you for choosing Deviant Ink as your Polaris Matryx sled wrap brand! This highly detailed step-by-step Matryx Pro & Khaos snowmobile wrap installation guide will walk you through the placement of every piece of your new wrap!
INSTRUCTIONS ON HOW TO USE THIS GUIDE
We recommend rolling your wrap out flat on a table, similar to what we have done in the video below.
Find your kit 1, kit 2, and kit 3 sections.
We start on kit 1 in the video and recommend that you do as well.
Once you find the exact piece that we start with in the video, simply do the play/pause treatment as you work through each piece and follow along with us.
After you pound through kit 1,2, & 3, next up is the tank(TNK) section, followed up by your tunnel side and tunnel top areas (TNL/TOP).
Once you have all of your pieces placed, it’s time to post-heat every down and clean up any areas you need to clean up. We provide tips and tricks for post heating in the video!
WATCH THE STEP-BY-STEP VIDEO
PRINT LAYOUT EXPLAINED
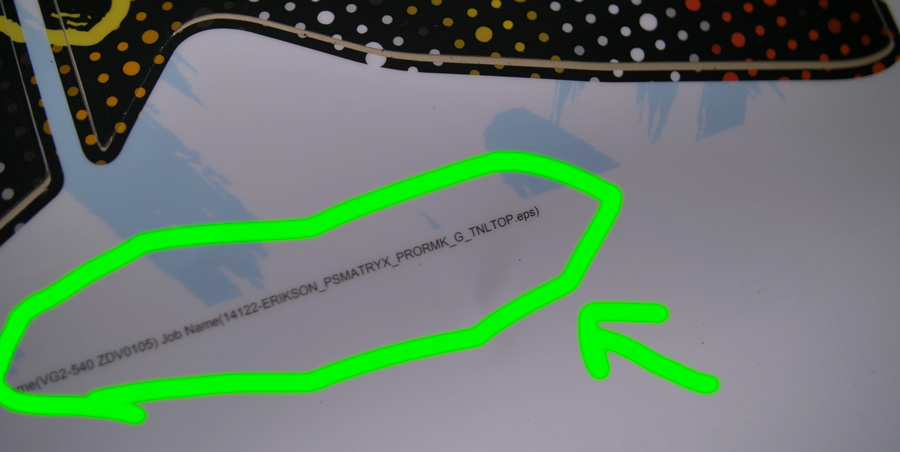
You’ll find at the bottom of each printed out sheet, a line of text that includes important information about your wrap – specifically the coverage area name. See image below.
KIT 1 - HOOD/SIDE PANELS
You’ll notice kit 1, kit 2, and kit 3 sheets will cover the front half of your Polaris Matryx.
KIT 2 - HOOD/SIDE PANELS
You’ll notice kit 1, kit 2, and kit 3 sheets will cover the front half of your Polaris Matryx.
KIT 3 - HOOD/DASH
You’ll notice kit 1, kit 2, and kit 3 sheets will cover the front half of your Polaris Matryx.
Kit 3 is mostly windshield and dash sections.
TNK - Tank section both sides
This sheet gets both sides of your tank section covered.
TNLTOP - TUNNEL TOP & TUNNEL SIDES
The “TNL” section represents the side walls of your tunnel. The “TOP” section represents your tunnel top. These pieces typically print out on the same sheet together.
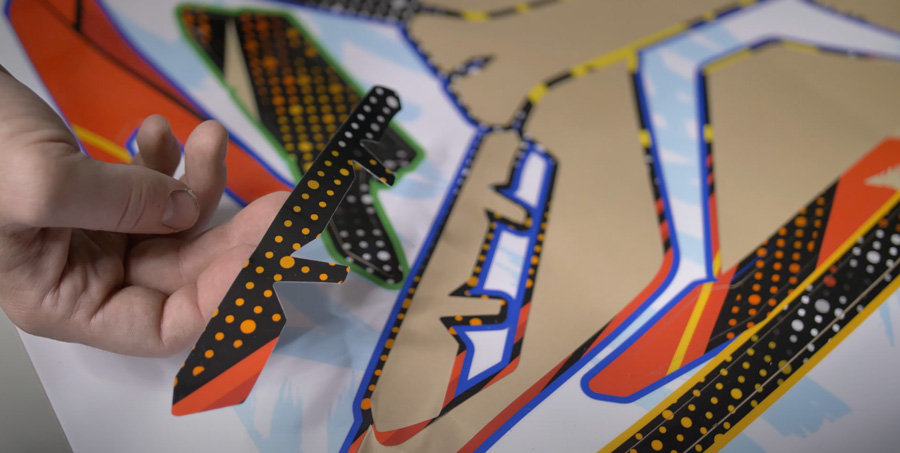
COLOR OUTLINES
Every piece is outlined with a specific color code. Pieces with the same color outline belong in the same general area. Example: blue outlined pieces are positioned on the hood area of the machine. See image below as an example.