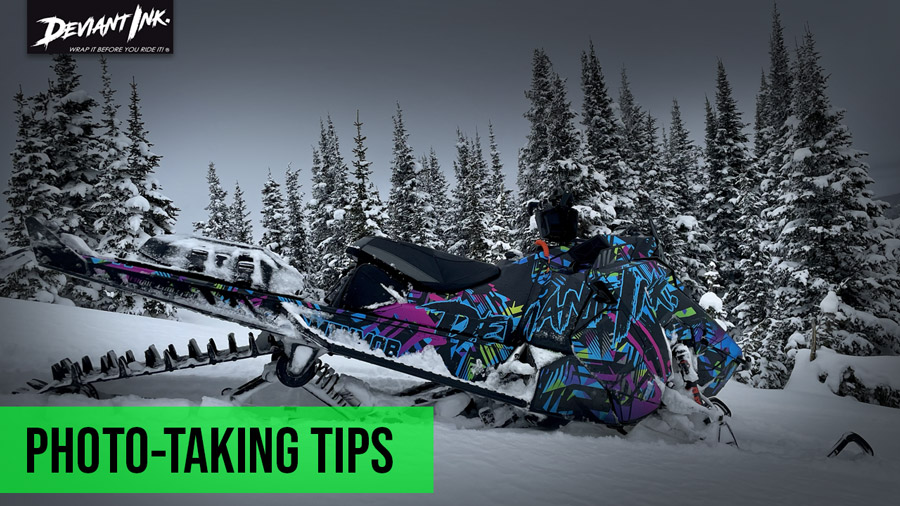
It happens to the best of us.
We get stoked to slap new ink on the snowmobile but can never get that super rad shot that we see so often from EVERYONE else on the socials.
So, our goal today is to arm you with a handful of quick tips that should change your photo-taking skills FOREVER.
But first, why should we even bother?
Well…Glad you asked…
A higher quality image that looks gnarly is said to increase stoke to insane levels…
If you post your photos on social platforms, a higher quality image will help you get more engagement.
If you want others to share your photos on social platforms (like a brand, business, or page), a higher quality image gives you the best chance to get some of that social love (if low quality you can kiss that idea goodbye).
So, let’s jump into these tips and become rockstar photo takers!
1 – Capture Multiple Shots // Shoot In Burst Mode
Remember back in the day when you’d snap a photo and have to wait until you finished the roll, take it to the photo lab and have some stranger develop your film (and creep on your photos…).
Yea not anymore.
Take as many photos as you need to get a clean shot. Turn on burst mode to do that automatically. A quick Google search will show you how to do that if you are unfamiliar.
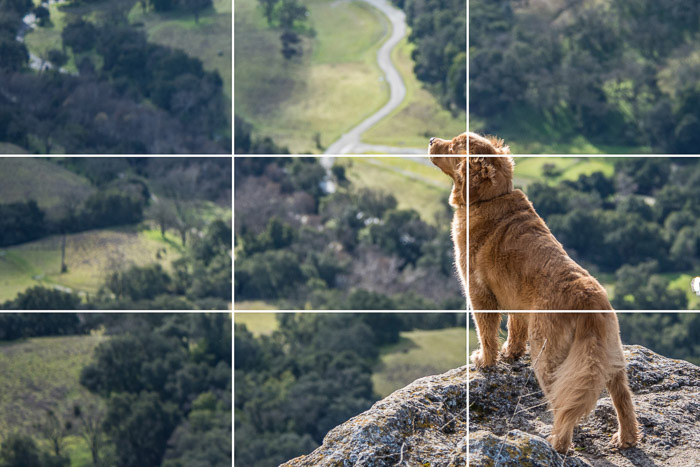
2 – Apply The Rule Of Thirds
With the rule of thirds, your image is split into nine equal squares that form a three-by-three grid.
You should aim to get the most interesting parts of your image near the corners of these segments, where the imaginary gridlines meet. Using the rule of thirds gives a more natural feeling to the image and allows the eye to flow around the photo with ease.
See example:
3 – Use Natural Light
It’s hard to find a great smartphone photo that was taken with a flash. Most of the time, they make a photo look overexposed, negatively altering colors and making human subjects look washed out.
You’ll want your natural light shining on your subject (snowmobile). So, if you are taking the photo, the natural light would be coming from behind with your snowmobile in front of you – natural light shining onto it.
This should help your photos capture as much clean and accurate colors as possible.
Example: You open your shop garage door and let the natural light in. You stand between your garage door and your sled (natural light at your back) and snap the shot.
4 – Avoid Digital Zoom
Digital zoom nearly always produces poor results as it reduces the resolution of the image and makes it a little blurry.
Avoiding it is one of the basic photography tips for taking better photos. Instead of zooming in, move closer to the thing you want to take a photo of.
5 – Clean Your Phone’s Lens
Carrying a smartphone camera around in the backcountry for photos is extremely convenient when compared to what the alternative was years ago.
With that does come a cost. No protection for your lens.
Be sure to clean your lens often, especially when you know you’ll be out snapping a bunch of photos. Use a soft clean towel or handkerchief.
6 – Search Popular Hashtags
A lot of what goes into a quality shot is how you set everything up. Spend some time gaining inspiration by scrolling through popular Instagram feeds and seeing what types of photos are already getting a lot of engagement.
Then go try and replicate and/or put your own spin on it.
7 – Find Different Perspectives
Taking photos from a unique, unexpected angle can make them more memorable and help your photo stand out in social feeds.
Dialing it back to the previous tip, as you scroll through those hashtag feeds, pay attention to the different shot angles.
8 – Consider Buying A Mobile Tripod
Mobile tripods are barely bigger than your phone and give you the freedom to take hands-free photos (and videos) of yourself while keeping the phone steady and level for quality results.
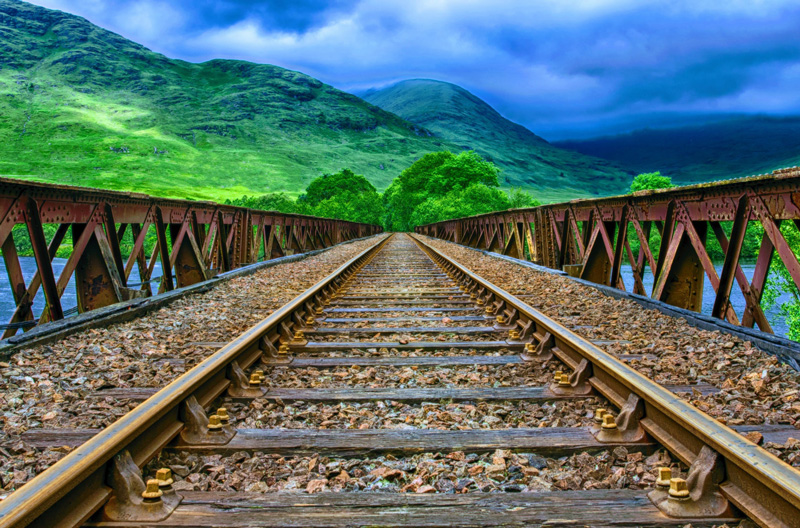
9 – Use Leading Lines
In some photos, there’s a natural line that draws the viewer’s eye toward a certain part of the photo. Those are called leading lines.
They can be straight or circulinear — think staircases, building facades, train tracks, roads, or even a trail through the woods.
Leading lines are awesome for creating a sense of depth in an image, and can make your photo look top notch — even if you just happened to come upon a really cool shape by accident in the backcountry or on the trails.
See example:
10 – It’s Better To Under Expose Than Over Expose
Always remember that you can never salvage an over-exposed image even with the best post-editing apps or software. An image that is over-exposed has lost all the details, is too bright, has hardly any highlights, and lowering the brightness later on won’t bring the details back.
It’s always safer to under-expose your shot a little by tapping on the brightest part of the image and letting your phone camera lock in the right exposure level before you snap away. You can always brighten the image with editing later on.
–
Well there you have it. Hopefully, you picked up a few extra tricks to take with you on your next adventure.