QUICK OVERVIEW

Nailing your wrap design starts with understanding how your base plastics impact the final look. In this module, you’ll learn how to choose color combos that actually work, blend stock plastics into your design, and use Deviant Ink’s new Color Mixer and Design Mixer tools to create bold, balanced wraps that stand out on any machine.

STEP 1 – YOUR BASE PLASTICS COLORS MATTER

One of the biggest mistakes we see when designing a wrap is not considering the colors of the base plastics on your machine.

What do we mean by that?

No wrap will cover every inch of your machine—it’s just not doable. But if you keep the color of your plastics and tunnel in mind, you’ll end up with something that looks seriously awesome. Trust us!

Take this photo below as an example:

Great, stealthy-looking wrap.

However, the side panels were red. Now, those red lines stick out.

3 ways to fix that:

  • Buy new plastics, in this case, black ones (can be expensive)
  • Paint your existing plastics (not a bad option if you know what you’re doing)
  • Incorporate your plastic’s color into your wrap (easy adjustment)


Now take this Arctic Cat. The customer had to work with 3 colors. The panels were gray and black and the tunnel was white.

Here’s what the machine looked like bone stock:

We’ve found it to be easier to blend multiple colors when you work with a wrap design that is a bit “busier” and features multiple colors within the design.

See the same sled now fully wrapped below.

The customer made sure that gray, black, and white were spread throughout the design, therefore, blending and softening the different background colors.

accent colors

We can closely match your accents, plastics, ski tips, rails, and more to provide the most accurate preview of how your wrap design will look on your machine.

DESIGN TIP:

 
When working with a stock machine that has multiple base colors, it’s easier to blend your background colors with your wrap by opting for a more busy design. A busier wrap helps mesh and hide the color blocks, creating a more cohesive and seamless look.

STEP 2 – TIPS FOR AWESOME COLOR COMBINATIONS

There are a few ways to insure you nail your color combos EVERY time. We’ll list them below:

  • Save/screenshot/take photo of cool colorways you see online, social media, or in person. Save these on your phone so you can reference back to them when you get ready to design your wrap.


  • Get major color “inspo” by using a free online tool like Canva’s color wheel. You can select a primary color and then see what complimentary colors go good with your primary color. (see image below)
  • Use one of the new color design tools recently developed for DeviantInk.com. (scroll down to learn more)

STEP 3 – NEW DEVIANT INK WRAP BUILDER TOOLS

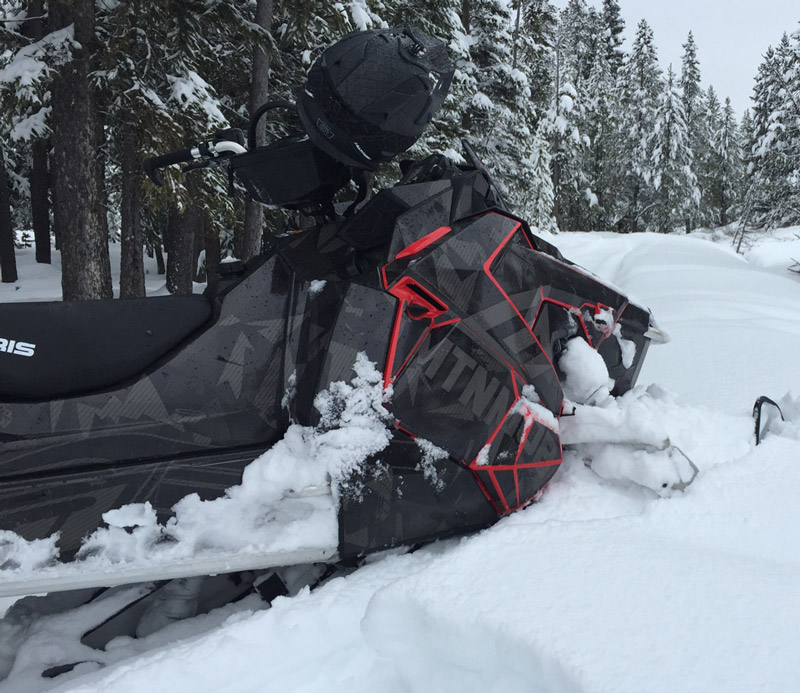
We’ve seen a TON of wraps come through our headquarters in southeast Idaho. Different shapes, sizes, and COLORS.

After years of learning how powersport enthusiasts shop for custom wraps, some of the headaches that currently exist in the marketplace, and taking our own experiences, we identified a few problems…

Problem #1

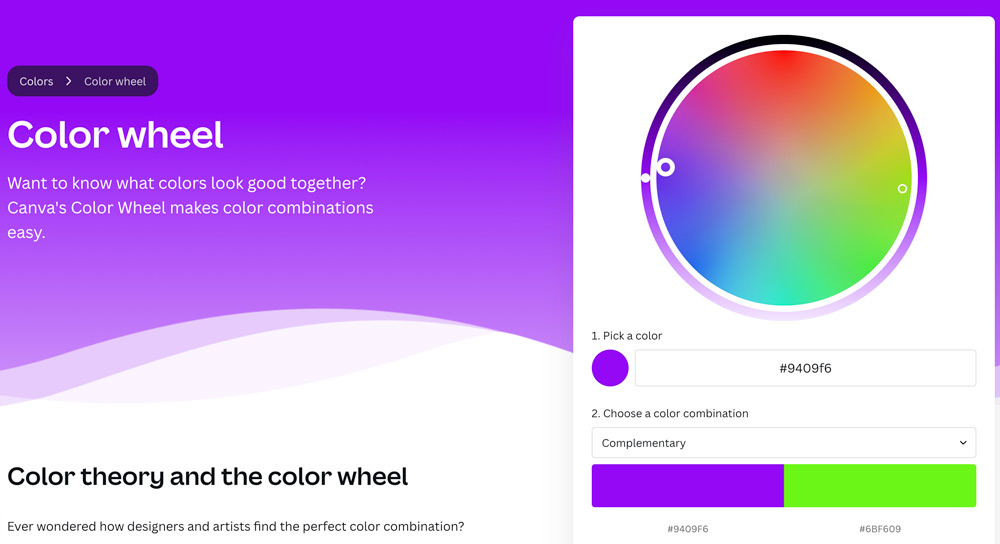
INTRODUCING THE “COLOR MIXER”

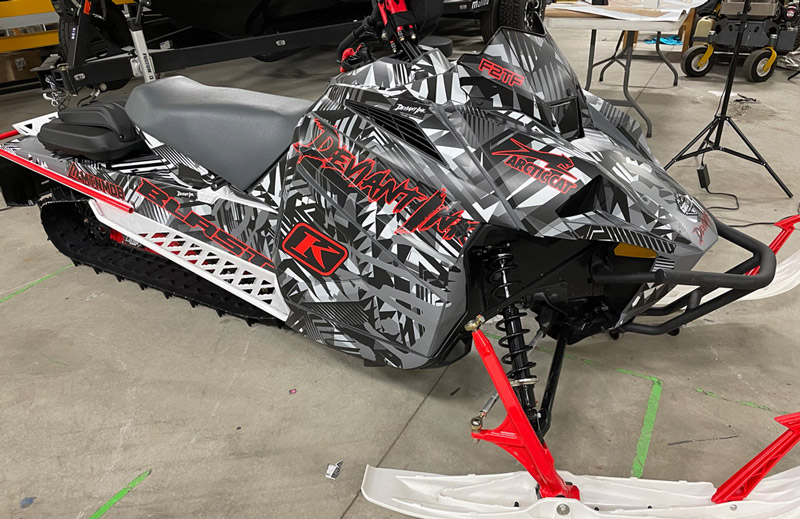
Most of us can identify a wrap that looks good.

BUT…

Creating that wrap from scratch can be hard. Getting the colors to pair up nicely can be hard.

BUT… when we see a banger, we KNOW.

So, we went to work to develop a solution.

Recently we launched the “COLOR MIXER” on DeviantInk.com

Built exactly for the person who needs to cycle through a bunch of different colorways until you see the perfect match or get inspired.

And BOOM…a Banger is born.

Watch the color mixer in action below:

WATCH THE COLOR MIXER IN ACTION

Problem #2

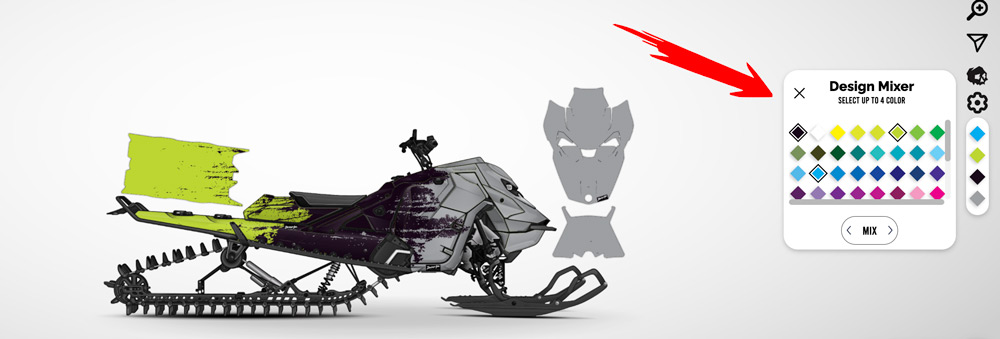
INTRODUCING THE “DESIGN MIXER”

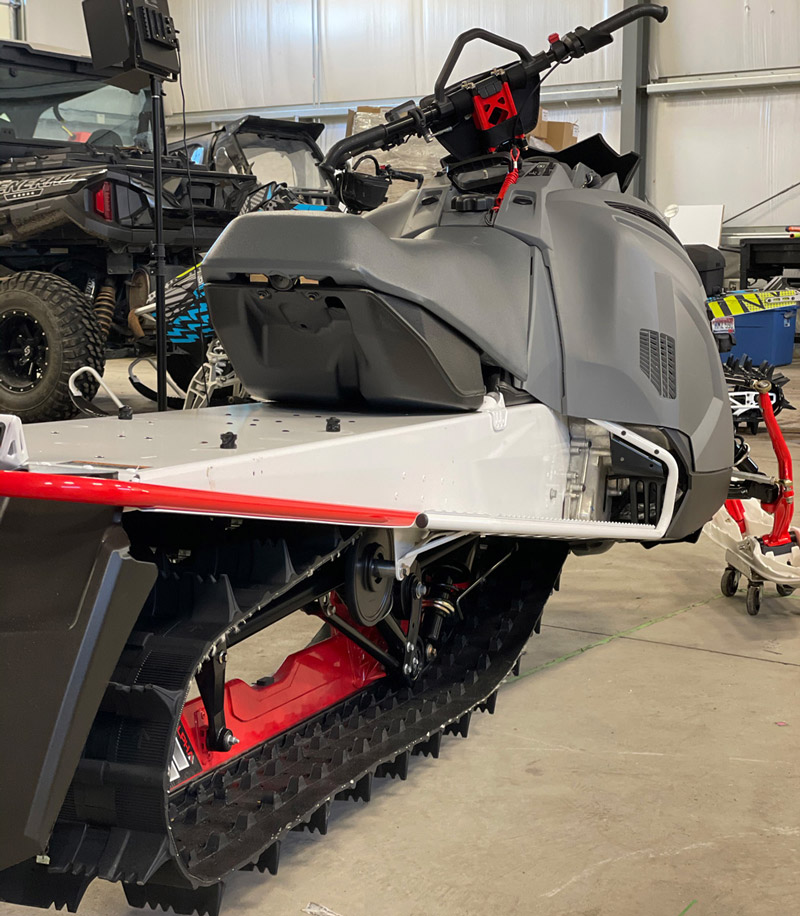
We may already know the color combos we want, but those colors aren’t available in all of the different design options…

On DeviantInk.com, you can customize any wrap design to be any color combo you want.

BUT… we took it a step further…

You can now pre-select up to 4 different colors, and then cycle through all our designs with your pre-selected colors.

This is the perfect tool if you already know what colors you want in your wrap design and ONLY want to see wraps customized in those colors.

AND THAT’S A WRAP WITH MODULE 2!


Module 2 provided an overview of why your base plastic colors matter, and tips for creating amazing colorways!


Here’s what to look forward to in module 3…
 

  • We’ll Discover how to perfectly match your desired wrap vibe with a custom Deviant Ink design!