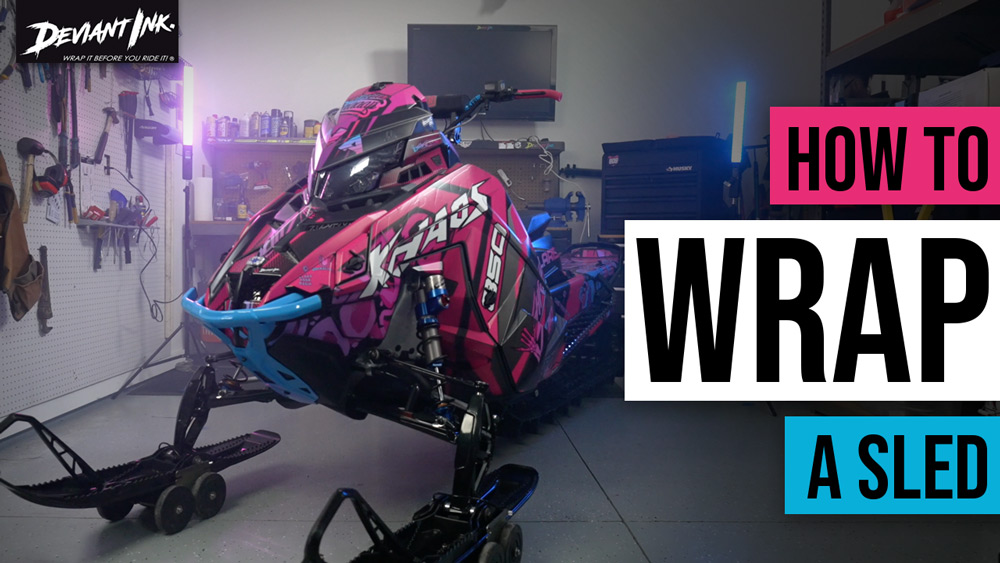
Isn’t this an exciting time!? Your machine is about to go through one gnarly transformation. You’re probably asking yourself… how to wrap a snowmobile? Our goal with this sled wrap installation guide is to eliminate all of your questions, take the guess-work out of the process, and give you the confidence to slap all that fresh ink on your sled.
What you’ll find in this sled wrap tutorial guide:
- Proper setup for a clean, efficient wrap job
- A step-by-step instructional process
- BONUS: A fun tutorial video SHOWING you how to wrap a snowmobile (scroll down to watch video)
Let’s go wrap a sled!
TOOLS NEEDED
- INDOOR LOCATION (not a tool but you need to be able to control your environment during installation)
- HAIR DRYER OR HEAT GUN
- RUBBING ALCOHOL
- SCISSORS
- MASKING TAPE
- SQUEEGEE
STEP-BY-STEP PROCESS
1 – HEATED LOCATION
Keep machine and decals indoors at 70 degrees or warmer (allows decal pliability & proper adhesion) during the installation process.
2 – REMOVAL
Stock graphics will remove easier with heat (hair dryer or heat gun). A product like Rapid Remover (auto stores) will remove any adhesive residue but be sure to clean thoroughly if used. Remove any body attachments (i.e. windshields) that may be obstacles during installation.
3 – CLEAN
Thoroughly wash machine with soap & water, dry, then clean with rubbing alcohol, and let air dry. DO NOT USE OILS SUCH AS PLEDGE, WD40, ETC. These oil based products, as well as gasoline, will only make the plastic surfaces slippery and YOUR GRAPHIC KIT WILL NOT ADHERE PROPERLY!… so take the time to clean your machine thoroughly and properly!
4 – SEPARATE
With scissors, cut decal pieces out separately from the sheet, trimming the paper backing as close to the decal edges as possible for ease of visual placement and installation.
NOTE: We don’t typically cut out the smaller pieces. Those pieces can be applied without the center hinge method (discussed in step 5). Of course, if you aren’t comfortable placing decals without using the center hinge method, then cut each piece out. 🙂
— QUICK TIP —
REMEMBER: Installation needs to be WARM – CLEAN – DRY!
We advise dry application. Yes, your decal buddy usually mists a soap and water solution when he installs his graphics, which puts a layer of liquid and residue between your decal’s adhesive and your plastics – not what you are looking for! This is a specialty material with specialty adhesive. Do it dry and follow The Hinge Method… we are not liable for improper installation.
5 – APPLY (CENTER HINGE METHOD)
[Photo 5] Position decal and tape at center (this is your hinge).
[Photo 6] Using the tape as a center hinge, pull one side of decal back over itself and peel paper backing away. CLEANLY cut paper backing close to the hinge.
[Photo 7] Bring adhesive backed portion into place without touching the body plastic (high-tac adhesive will not allow for realignment). Using a clean squeegee and overlapping straight up & down strokes, firmly apply pressure from the center hinge of the decal out. Remove tape and repeat steps in photos 6 & 7 for second half of decal.


6 – POST HEAT
Decals adhere best with additional heat and pressure. Use a heat gun or hair dryer, being careful not to scorch the graphics, and evenly warm up each decal and individually press the warmed vinyl, especially into textured plastics (i.e. gas tank plastics). Let your decals adhere for 24 hours before taking them out into the elements.
PRO TIP: Use heat and pressure around the edges of every piece. Sealing those edges creates a sealed closure so that no pieces have a chance to flake/peel up.
7 – TRIM
You may choose to use an x-acto blade to trim out any additional pieces around any edges or if you’ve made any modifications to your plastics, that x-acto blade comes in handy for quick trim jobs.
SLED WRAP TUTORIAL VIDEO
* SLEDWRAPS(TM) / DEVIANTINK® is not liable for improper installation of graphics, damage to them due to improper install techniques, or damage due to everyday and race abrasions. Our graphics are built out of the highest quality materials, not titanium, but the best stuff you can get! The decal high-tac adhesive and heavy duty laminate will provide excellent adhesion, protection, and longevity but they are not indestructible- they are decals!